

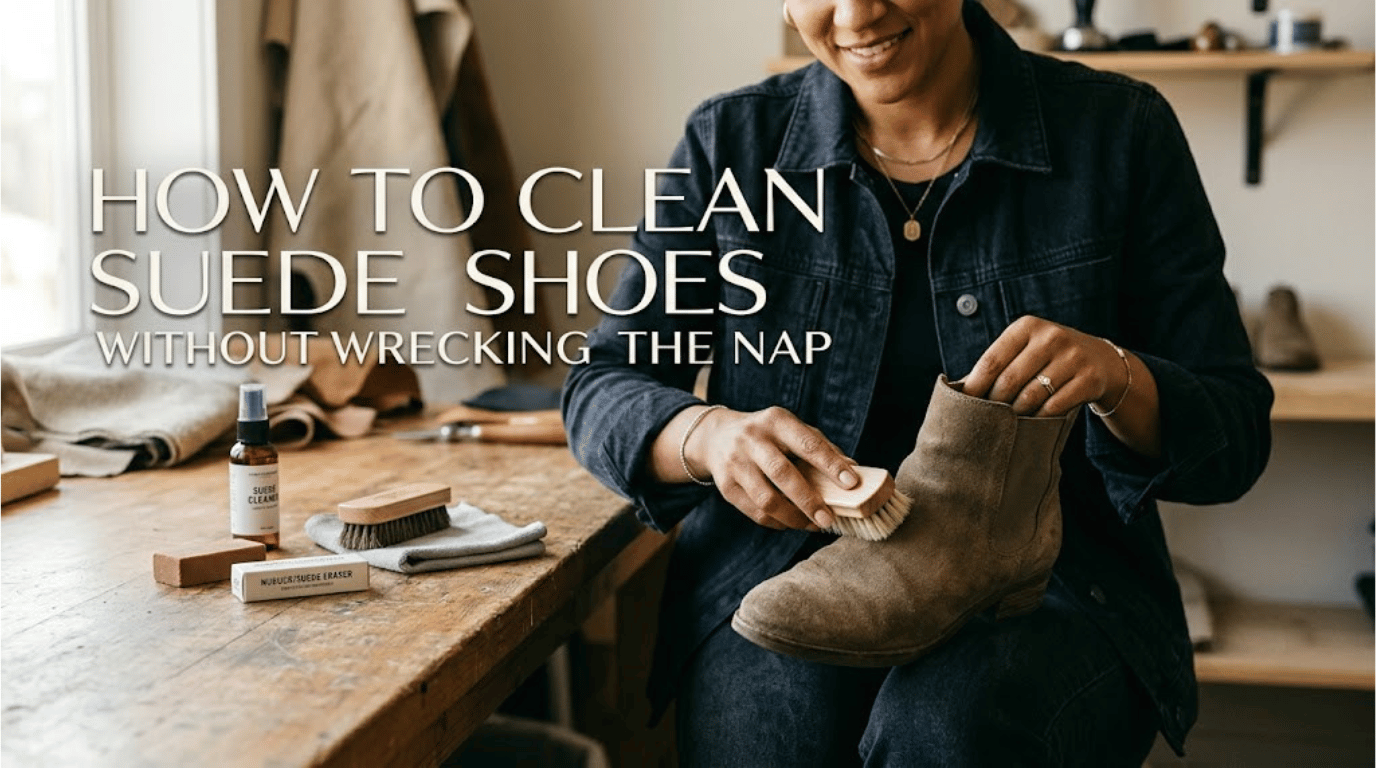
Suede looks expensive right up until something lands on it. Then panic sets in, and most people reach for the one thing that makes it worse: water. Knowing how to clean suede shoes is mostly about knowing what not to do in the first thirty seconds. Get that order right and a scuffed pair comes back looking close to new.
The safe method has five steps. Let the shoes dry completely, then brush the nap in one direction with a suede brush. Rub the mark with a suede eraser, brush again to lift the fibers, and finish with a protector spray. Treat any stain only after the shoe is bone dry.
Key Takeaways
- Dry first, always. Water is a last resort, never an opening move.
- A brush and an eraser handle most everyday marks with nothing else added.
- Grease needs cornstarch and time, not scrubbing.
- Heat is what turns a fixable mark into permanent damage.
- A can of protector spray runs about $13 and saves the pair.
What You’ll Need
None of this is expensive. A basic care kit runs $10 to $25, which is less than a single professional visit. Buy the brush first if you buy nothing else.
- Suede brush with brass or nylon bristles, roughly $7 to $12. Brass bites into caked grime. Nylon is gentler on soft, thin finishes.
- Suede eraser, a crumbly rubber block that pulls scuffs out of the pile. Kits with a brush and eraser sit around $15.
- White vinegar, straight from the pantry.
- Cornstarch for oil and grease.
- A clean white cloth, microfiber for preference.
- Protector spray, $12 to $16 a can.
Skip the fine sandpaper trick you have seen in videos. It works once, and then it thins the material for good. If you are building a care routine for the rest of your shoes, the same brush works on nubuck boots too.
How to Clean Suede Shoes: The 5 Step Base Method
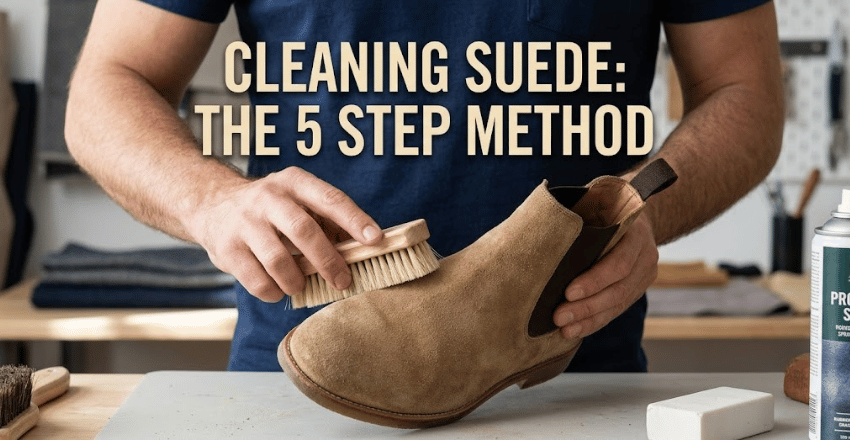
Work through these in order. Do not skip step one, however tempting it looks.
- Dry the shoe completely. Stuff it with paper or a shoe tree to hold its shape, then leave it at room temperature for 24 hours. Damp suede tears and smears under a brush.
- Brush the nap in one direction. Short, light strokes, all going the same way. This lifts loose dirt out instead of pressing it deeper.
- Erase the mark. Rub the eraser over the spot with steady pressure. Crumbs will form. Brush them off and check your progress before you go again.
- Brush again, back and forth. Now you want the fibers standing up rather than lying flat. This is the step that restores that soft, matte texture.
- Seal it with protector spray. Hold the can 6 inches away and mist evenly. Let it cure for a few hours before the shoes go back on.
That handles a normal week of wear. Specific stains need something extra.
Stain by Stain: What Actually Works
People rarely arrive with a generically dirty shoe. They arrive with one problem, and each problem has its own fix.
| Stain type | Method | Tool | Expected result |
| Dry dirt and dust | Brush one direction, then lift the pile | Suede brush | Gone in two minutes |
| Water marks | Dampen the whole panel evenly, blot, dry flat | Cloth and brush | Ring blends away |
| Road salt | Blot with 50/50 white vinegar and water, dry, rebrush | Cloth, vinegar, brush | White crust lifts |
| Oil and grease | Bury in cornstarch overnight, brush out | Cornstarch, brush | Fades, may need a repeat |
| Ink | Dab, never rub, with rubbing alcohol on a cotton swab | Alcohol, swab | Fresh ink lifts, old ink often stays |
| Mud | Let it dry hard, crack it off, then brush | Fingers and brush | Clean, sometimes a faint shadow |
| Flattened nap | Brush briskly, then steam briefly from a distance | Brush, kettle steam | Texture comes back |
Dry dirt and dust
Easiest case by far. Brush it out, one direction, done.
Water marks
A single splash leaves a dark ring because the fibers dried unevenly. The counterintuitive fix is more moisture, spread wider. Lightly dampen the entire panel with a barely wet cloth so there is no edge left to see, blot the excess, then dry it flat and away from any heat. Brush it once it feels dry to the touch.
Salt and winter road salt
Sidewalk salt is alkaline, and it keeps eating at the fibers until you neutralize it. Knock the loose crust off with a dry brush first. Mix white vinegar and water in equal parts, dampen a cloth, and blot the tide line rather than scrubbing it. Let the shoe dry overnight, then brush the nap back up.
Winter is hard on this material. If suede is part of your cold weather rotation, our seasonal outfit ideas will help you plan around the worst of it.
Oil and grease
Do not touch this one with liquid. Pile cornstarch or talc directly onto the mark, thick enough to cover it, and walk away for at least eight hours. Overnight is better. The powder pulls oil out of the pile as it sits, and in the morning you brush it away and check. Two rounds are normal on a big spill.
Ink
Speed decides this one. Rubbing alcohol on a cotton swab will lift fresh ink, but it sets old ink and can pull dye out of the shoe. Dab straight down, lift, use a fresh swab, repeat. Rubbing sideways only spreads the pigment into clean fibers.
Mud
Resist the urge to wipe. Wet mud smears into the pile and doubles the job. Leave the shoes somewhere cool until the mud goes hard and chalky, then crack the crust off with your thumbnail and brush the residue away.
General flattened, shiny nap.
Shine means the fibers have been crushed flat, usually across the toe box. A brisk two-way brushing fixes most of it. For the stubborn patches, hold the shoe about 8 inches above a kettle spout for a few seconds, then brush immediately while the fibers are relaxed. Short bursts only.
Four Mistakes That Ruin Suede for Good
The wrong first move is what kills a pair. All four of these show up constantly in online advice.
- Reaching for water first. Suede is thirsty. Soaking it flattens the pile, stiffens the leather, and leaves a ring worse than the original mark.
- The washing machine. Some videos swear by it. The drum agitation, the detergent, and the soak time between them destroy the nap and warp the sole bond.
- Drying with heat. A radiator, a hair dryer, or a tumble dryer will shrink and crack the leather. Cool air and patience, nothing else.
- Leather conditioner or polish. This one is on plenty of big retail guides, and it is wrong. Conditioners and waxes are made for smooth grain leather. On suede, they mat the fibers into a permanent greasy sheen.
Suede or Nubuck? They Are Not the Same
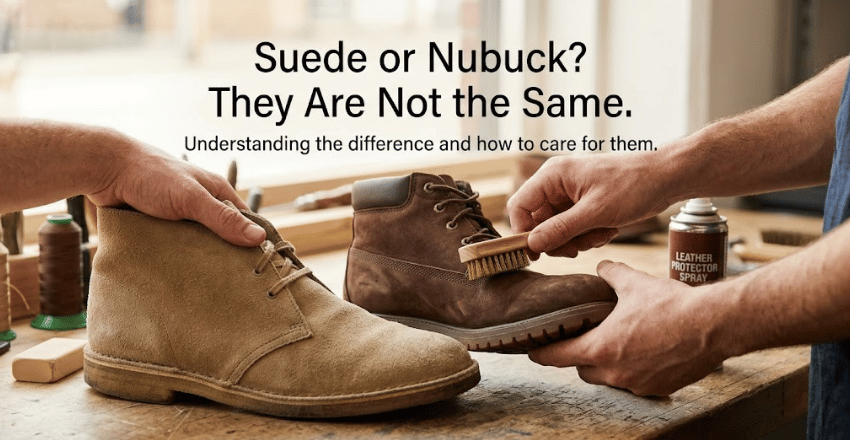
Both feel fuzzy, so people treat them identically. Suede comes from the underside of the hide, split and buffed, which gives it a longer and looser nap. Nubuck is cattle hide sanded on the outer grain side, so it is thicker, tougher, and has a much finer, tighter pile that reads almost like velvet.
Cleaning tools overlap. Nubuck takes more pressure without damage, and it hides scuffs better, but it also holds oil more stubbornly. Use the same brush, the same eraser, and the same protector spray on either one.
When to Stop and Call a Cobbler
Home treatment has limits, and pushing past them costs more than the repair would have. Hand them over if the stain covers a whole panel, or if color has visibly lifted. Set-in ink, old grease, and any pair worth several hundred dollars also belong with a professional.
Professional shoe and boot cleaning generally runs $30 to $75. A deep clean at a city specialist sits near the top of that, around $65, and color restoration adds another $40 to $100, depending on how much dye has gone in. Ask for a quote before the work starts, because condition drives the final number.
Protect It Before It Needs Cleaning
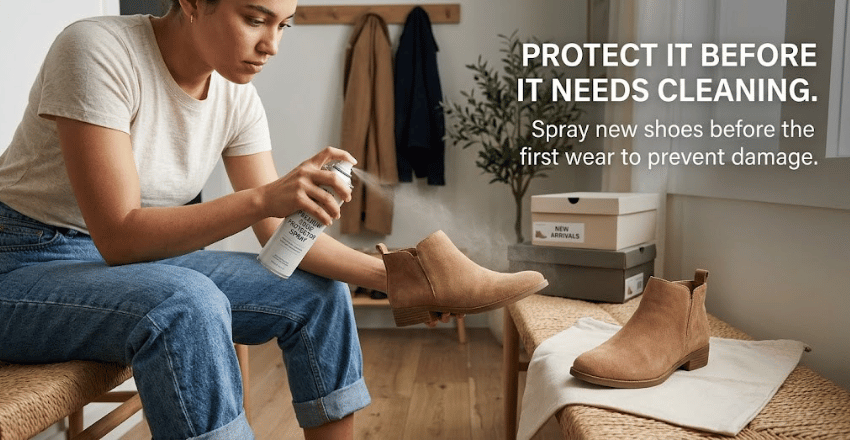
Spray a new pair before the first wear. That single habit prevents more damage than any cleaning method on this page.
Reapply each season as a baseline. Wear the shoes several times a week, or through slush and rain, and every other month is closer to right. Test any spray on the heel or the inner edge first, since a few formulas darken pale colors slightly. Brush the nap after every few wears and the pile never gets a chance to compact. For more everyday care and styling ideas, browse our fashion archive.
Your Next Step
Buy the brush, the eraser, and one can of protector spray this week. Twenty dollars, one drawer, and your next scuff becomes a two-minute job instead of a small crisis.
Conclusion
Suede is less fragile than it looks when you treat it the right way. The secret is patience: let the shoes dry first, use a suede brush and eraser before reaching for liquids, and match the cleaning method to the type of stain. Most everyday scuffs, dust, and even grease marks can be handled at home without damaging the nap, while a quick coat of protector spray helps prevent future stains. With a few inexpensive tools and a consistent care routine, you can keep your suede shoes looking soft, clean, and wearable for years instead of replacing them after every mishap.
If you want to read more interesting articles, visit our Fashion category.
FAQ
Yes, but only deliberately and evenly. A barely damp cloth across a full panel is fine. Soaking, rinsing, or spot wetting one small area is what creates rings.
For oil, both absorb well. Cornstarch is finer and brushes out of the pile more cleanly, so it is the safer default on pale colors.
Every two or three wears. It takes under a minute, and it is the difference between a five-year pair and a one-season pair.
Briefly, the smell fades entirely within a few hours of air drying, and it does not linger once the shoes are brushed.
Mostly, and it is more forgiving. Synthetic versions tolerate mild soap and water that would wreck the real thing, though the brush-and-eraser routine still works best.